Just a short post with some photos from the 2012 NCECA (National Council on Education in the Ceramic Arts) Conference in Seattle. It was a great opportunity to see and hear what's going on in the larger world of pottery and ceramic arts, visit a great city, do a little birding (see my other
blog), and visit with my son, Dan.
Visiting the vendor's exhibition space was like stepping into the Garden of Temptations. So many things I would have liked to have gotten. I guess it was lucky I had no space in my suitcase for the larger items, like a wonderful hump mold which fit over bat pins, and open forms for forming slabs. I'll be saving my pennies for next year, when I can drive to NCECA Houston.
Then there was the gallery exhibition, with several Washington art galleries selling select pieces of pottery and art. I wanted to resist. Truly I did. But one plate screamed "buy me": a handbuild beauty with a Snowy Owls on it.
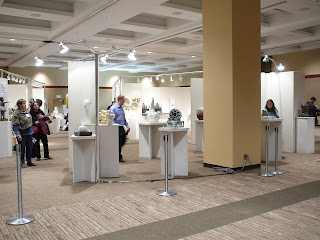 |
| The Gallery Exhibition |
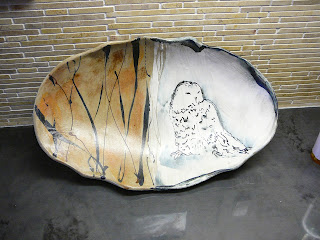 |
| My Plate! |
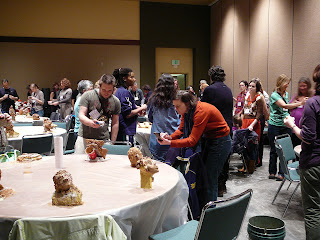
I also donated a mug to the sale raising money for scholarships and purchased three. One was for a gift, the other two came home with me and are now being used in rotation with the rest of my beloved handmade coffee cups.
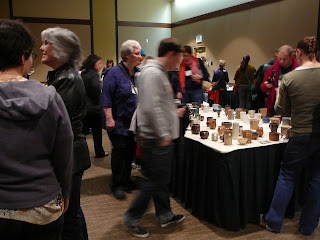 |
| Mug Sale |
|
|
As for the actual conference, it was an interesting melange of lectures, demos, discussions, and a "mini master class". I was kept pretty busy, going from place to place, often having to choose between a couple of different presentations which sounded appealing.
I think my favorites were the "mini master class" (I'll write more on this tomorrow), the talk about Contemporary Ceramic Art in Israel, and the tandem demo by Walter Keeler and Tip Toland.
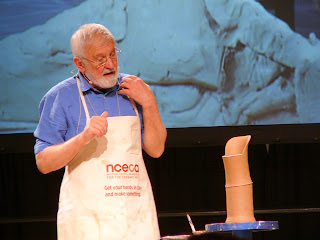 |
| Walter Keeler and his altered pieces |
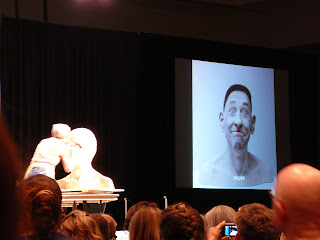 |
| Tip Toland, whose work can only be described as "unbelievable" |
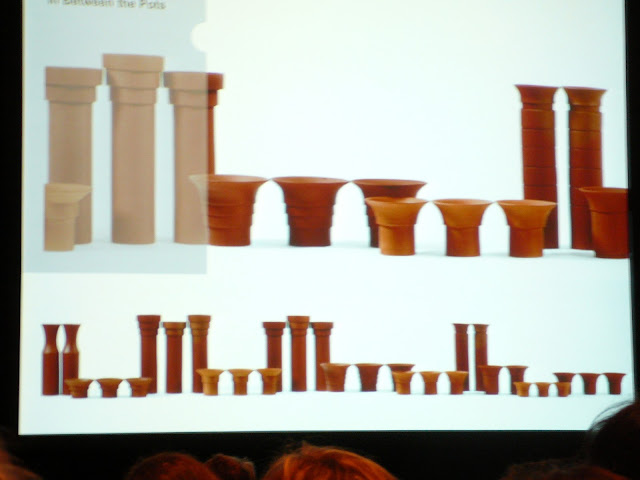 |
| My favorite slide from Contemporary Ceramic Arts in Israel. Take a closer look at the negative space between the vessels. |
| | |
All in all, it was an extremely worthwhile event. Next year I'll have a better idea how to tackle it. For now, I think it will be fun applying some of the techniques I've acquired and seeing how the conferences inspirations interact with my work.


